Dedicated Egress IP for Logpush
This guide covers Dedicated CDN Egress IPs and Logpush configuration and testing instructions to enable log delivery with a fixed, dedicated egress IP.
To use Logpush with a dedicated egress IP, you will need to have Smart Shield Advanced with Dedicated CDN Egress IPs (formerly known as Aegis). Note that the Dedicated CDN Egress IPs pool is associated with a zone, not with an account. To use Logpush with dedicated IPs, traffic must be routed to a single zone.
The general approach is to have your Logpush job proxying Logpush data through a Cloudflare zone with Dedicated CDN Egress IPs enabled to send data to your desired destination. This way your destination will only need to allowlist the provisioned dedicated egress IPs of your proxy zone.
As a prerequisite, you need to create a dedicated zone or use an existing zone. If using an existing zone, be aware that the zone's egress will be restricted to Dedicated CDN Egress IPs. Make sure all services using that zone will not be impacted.
It is recommended to use a separate, dedicated zone as a proxy to avoid impacting production systems. If you choose to create a new zone, follow the steps to register a new domain with Cloudflare.
The following example shows how to set up logpush and Dedicated CDN Egress IPs to proxy an HTTPS destination, but the proxying should work for any supported Logpush destination as all destinations use the HTTP protocol underneath.
-
Work with your Cloudflare account team to purchase Dedicated CDN Egress IPs for your zone.
-
(Optional but recommended) Request two IPs — one in PDX-B and one in SJC-A — to ensure coverage across regions.
-
Confirm Pool ID once provisioned.
- Register or use an existing zone for the dedicated egress IPs pool.
- Contact your account team to get the ID for your dedicated egress IPs pool.
- Make a
PATCHrequest to the Edit Zone Setting endpoint:
- Specify
aegisas the setting ID in the URL. - In the request body, set
enabledtotrueand use the ID from the previous step aspool_id.
Required API token permissions
At least one of the following token permissions
is required:
Zone Settings Write
curl "https://api.cloudflare.com/client/v4/zones/$ZONE_ID/settings/aegis" \ --request PATCH \ --header "Authorization: Bearer $CLOUDFLARE_API_TOKEN" \ --json '{ "id": "aegis", "value": { "enabled": true, "pool_id": "<YOUR_EGRESS_POOL_ID>" } }'- In your zone, add a DNS record (CNAME or A/AAAA) with Target as HTTP destination endpoint.

- If needed, configure origin rules to specify a custom port. This is useful if your destination only accepts traffic on a non standard port, for example
12345. You can configurelogpush.yourdestinationendpoint.com(without specifying a port, as Cloudflare by default only proxies traffic on HTTP/HTTPS ports) to proxy toyourdestinationendpoint.com:12345.
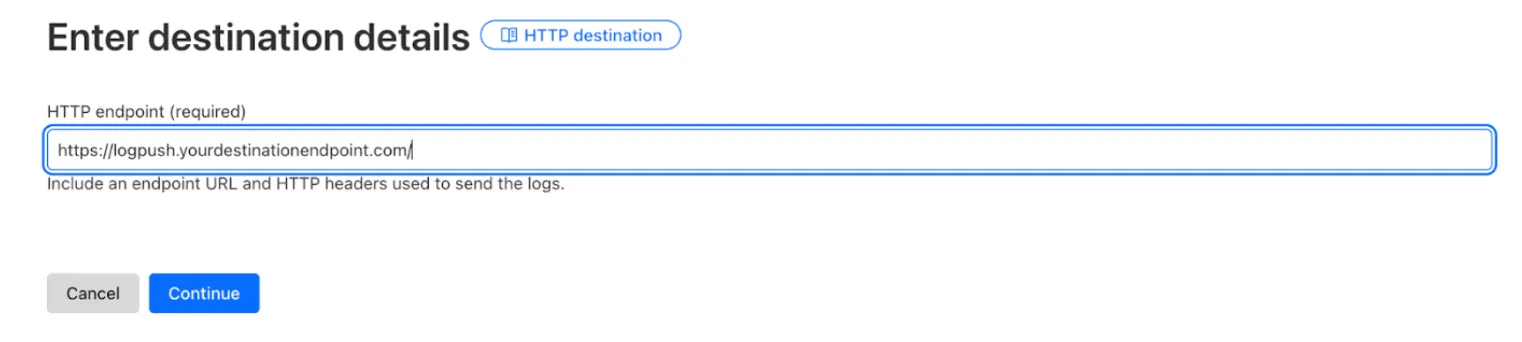
- Create a Logpush job with the following details:
- Destination: HTTP
- Endpoint: Use the domain/path set up (the Cloudflare dashboard will auto-validate the destination). Use the server name specified in the Name section in the DNS record. In this case,
logpush.yourdestionationendpoint.com.
- Configuration: Select dataset, job name, filters, and fields. Refer to the Logpush documentation for more details.
- Check destination to confirm if the logs are received.
The proxy zone hostname is publicly resolvable, but traffic passes through Cloudflare's edge where you can apply security controls. Use the following best practices to protect your endpoint.
Add a secret token as an HTTP header in your Logpush job, then create a WAF rule to block requests without it. This is the recommended approach for most deployments.
Configure Logpush with a secret header
Any URL parameter starting with header_ becomes an HTTP header in the request. When creating or updating your Logpush job, add the secret header to your destination URL:
https://logpush.yourdestinationendpoint.com?header_X-Logpush-Secret=YOUR_RANDOM_SECRET_TOKENGenerate a strong random token using openssl rand -hex 32.
Create a WAF custom rule
In the proxy zone, go to Security > WAF > Custom rules and create a rule to block requests without the correct secret header.
- Expression:
(http.host eq "logpush.yourdestinationendpoint.com" and all(http.request.headers["x-logpush-secret"][*] ne "YOUR_RANDOM_SECRET_TOKEN"))
- Action: Block
For defense in depth, add a rule to only allow traffic from Cloudflare's ASNs. Logpush traffic originates from Cloudflare's network (ASN 13335, 132892, or 202623).
- Expression:
(http.host eq "logpush.yourdestinationendpoint.com" and not ip.geoip.asnum in {13335 132892 202623})
- Action: Block
For stronger authentication, use Cloudflare Access Service Tokens for machine-to-machine authentication. Create a Service Token in the Zero Trust dashboard, then configure Logpush with the Access headers:
https://logpush.yourdestinationendpoint.com?header_CF-Access-Client-Id=YOUR_CLIENT_ID&header_CF-Access-Client-Secret=YOUR_CLIENT_SECRETTest that your WAF rules are blocking unauthorized requests:
$ curl https://logpush.yourdestinationendpoint.com# Expected: error code: 1020
$ curl -H "X-Logpush-Secret: wrong-token" https://logpush.yourdestinationendpoint.com# Expected: error code: 1020
Check Cloudflare Analytics for the proxy zone to confirm Logpush traffic is flowing, and monitor WAF events to ensure unauthorized requests are blocked.